General settings are used for the default setting of the product, every time adding an upload field to the product it will use the same setting as the general setting.
in the general setting, there are 2 areas left side and right side
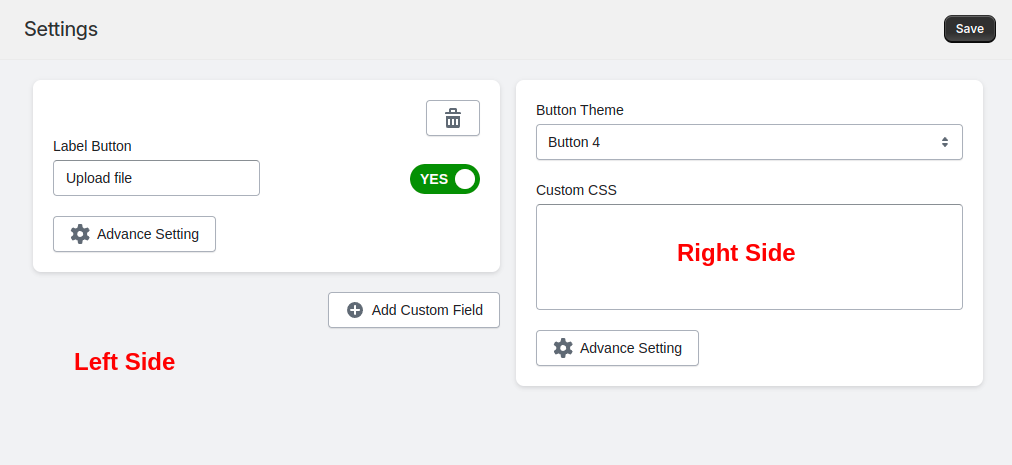
1. left side
Label button: for the upload field, you can disable or enable if you disable this label button it will not be visible in the front end but if you enable it, it will be visible in the front area.
The default label, after installation, is Upload file you can change it to any word you want.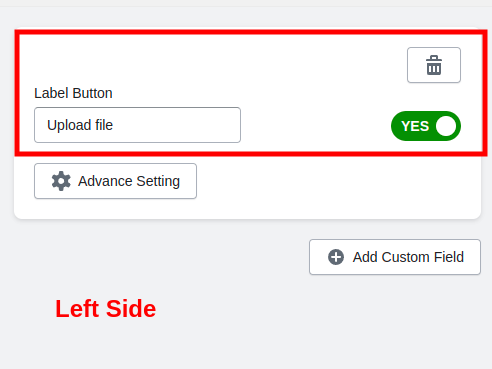
Upload option: this area used has a few settings that affect the upload button file that is: A list of allowed files to be uploaded, the size of the file, the field required, preview, and image dimension.
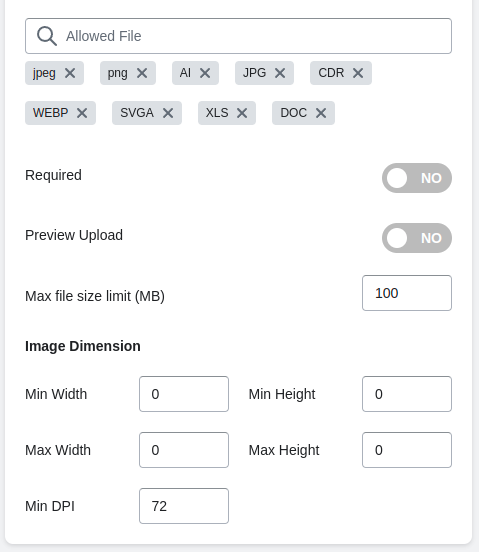
- Allowed file: this area is used to limit or unlimited what kind of file can be uploaded by the customer, by default we allow all files without any expectation. but you can change it by yourself.
- Required: if we enable this option that means the customer must upload their file, by default this button is disabled, which means the customer can upload or not their file.
- Preview Upload: by default of the app there is no preview of the file after the customer uploads the file, but you can enable it if you need your customer can preview the file that has been uploaded, this feature is currently only limited to the image file, but no worry soon we will add preview for document and video also audio.
- Max File Limit: by default the max file should be 100 MB, you can increase it to the max file of the plan you subscribe or you can reduce the max file to any size you need.
- Image dimension: this feature is only available for image files. you can limit the file based on the width, height, or DPI you need, if you are unsure just put 0.
Add more upload button: this button is used if you need more upload fields just click it and the setting will be the same as before, you can create the button unlimited.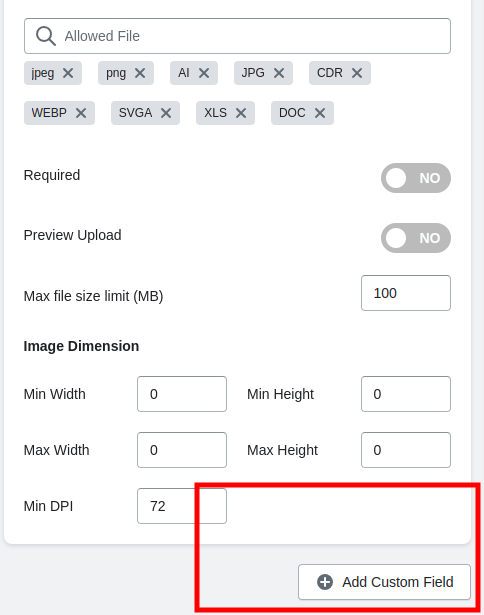
2. Right side
In the right side area general setting, there are 3 menus: Button theme, Custom CSS, and Advanced setting.
Button Theme: we prepared 5 styles of buttons you can use for your store, to activate the button just need to select the option button 1, button 2 or any button then save.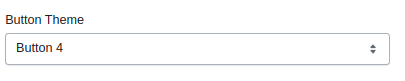
Custom CSS: a custom CSS area used for someone who understands CSS styling language they can customize the button by inputting the CSS syntax inside that area and saving it.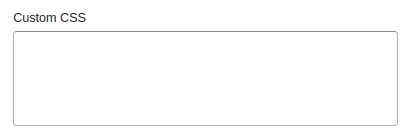
Advanced setting: inside the advanced setting there are allowed file types to upload and Warning messages.
- Allowed file extension: you check what kind of type is allowed to be uploaded by your customer but if there is some list not in there you can add the type of file by inputting the type of file name inside the box.
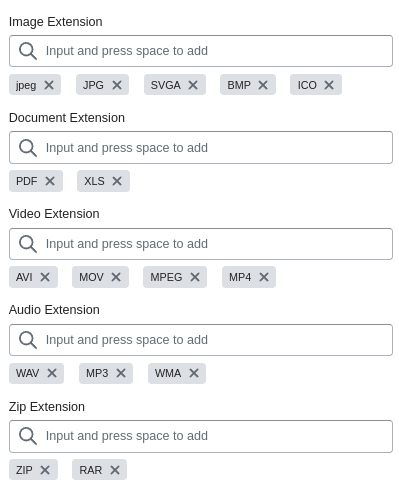
Typing the file name extension for sample font.ttf just put ttf without. inside the box and press the space on your keyboard. you can categorize the file by the name that we prepared.
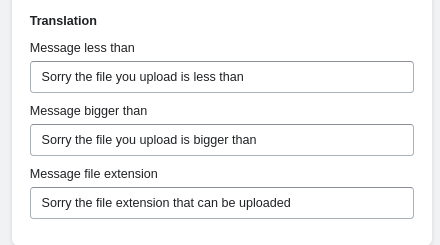
- Message Warning: if you need a custom message warning you can change it here, you can change it to any language you need.
 Note: all settings in the general setting menu will be applied to the new product that is added after the setting, for the old product will use the old setting, if you need to apply all settings to the old or newest product please press the apply for all button.